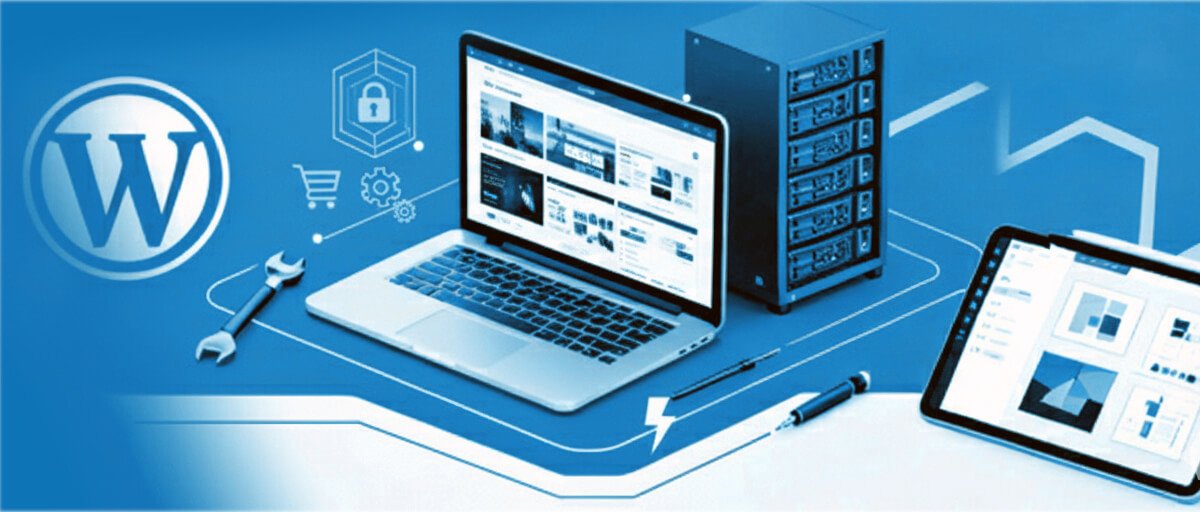
How to Create an Online Store With WooCommerce (Full Guide)
WooCommerce & E-Commerce Tutorials
How to Create an Online Store With WooCommerce (Full Guide)
WooCommerce is the world’s most popular e-commerce platform, powering millions of online stores. In this beginner-friendly guide, you’ll learn how to create a complete WooCommerce store — from installation and setup to products, payments, shipping, taxes, and optimization.
1
What You Need Before Creating a WooCommerce Store
Just a few basic requirements to get started.
To build your WooCommerce store, you need:
- Domain name (yourstore.com)
- Reliable hosting (preferably LiteSpeed or Cloud hosting)
- Latest version of WordPress
- WooCommerce plugin (free)
- A compatible theme (Astra, Blocksy, Kadence, or SiteCrafted templates)
If you are using a SiteCrafted E-Commerce Readymade Website, WooCommerce will already be preconfigured for you.
2
Install and Activate WooCommerce
The plugin that powers your online store.
You can install WooCommerce like any other plugin:
- Go to WordPress Dashboard → Plugins → Add New
- Search for WooCommerce
- Click Install and then Activate
After activation, you’ll see the WooCommerce setup wizard.
3
Configure WooCommerce (Setup Wizard)
Your store basics, currency, location, and preferences.
The setup wizard will ask for:
- Store address
- Business type
- Product type (physical/digital)
- Currency
- Payment options
- Shipping settings
Fill in the details and click Continue.
4
Add Your Products
The heart of your store.
Go to Products → Add New.
Add:
- Product name
- Description
- Price
- Product images
- Categories
- Stock & inventory details
- Shipping weight and dimensions
Click Publish to make the product live.
5
Configure Payment Gateways
Accept online payments securely.
WooCommerce supports:
- Stripe
- PayPal
- Razorpay (India)
- Cash on Delivery
- Direct bank transfer
To configure payments:
- Go to WooCommerce → Settings → Payments
- Enable the gateways you want
- Enter your API keys / credentials
For India, Razorpay works perfectly with UPI, Cards, and Wallets.
6
Configure Shipping Zones & Rates
Charge shipping based on location.
Go to WooCommerce → Settings → Shipping.
Create zones such as:
- Local Delivery
- Within India
- International Shipping
For each zone, define:
- Flat rate
- Free shipping
- Local pickup
7
Set Up Tax Options
Enable GST/VAT based on your region.
Go to WooCommerce → Settings → Tax.
For India:
- Enable tax calculations
- Enter GST rates (5%, 12%, 18%, or 28%)
You can also automate taxes using plugins.
8
Choose a WooCommerce-Optimized Theme
Your store’s design and speed depend on it.
Best themes:
- Astra
- Blocksy
- Kadence
- WoodMart
- Storefront
- SiteCrafted E-Commerce Readymade Templates
SiteCrafted templates include:
✓
Pre-built store pages
✓
Optimized cart & checkout
✓
Fast loading speed
✓
Mobile-first layout
9
Optimize Your Store for Speed & Conversions
Faster store = more sales.
Install these plugins:
- LiteSpeed Cache or WP Rocket
- Smush or ShortPixel (image optimization)
- RankMath SEO
Improve conversions by:
- Using high-quality product images
- Adding trust badges
- Using Razorpay as a payment option
- Optimizing mobile layout
Build Your Store Faster With SiteCrafted
Use our professionally designed e-commerce templates to launch a modern online store in minutes — no coding needed.